BMO e-Leave enables you to have immediate leave updates and reports for all staff including the management. Submitting leaves through BMO Online Leave Management System allows the system to draw data and produce useful reports without missing any details.
With the aid of generated e-Leave reports, your HR Department and managers would be able to make timely decisions that is beneficial to the company.
Below is a short guide on how to generate reports for individual staff.
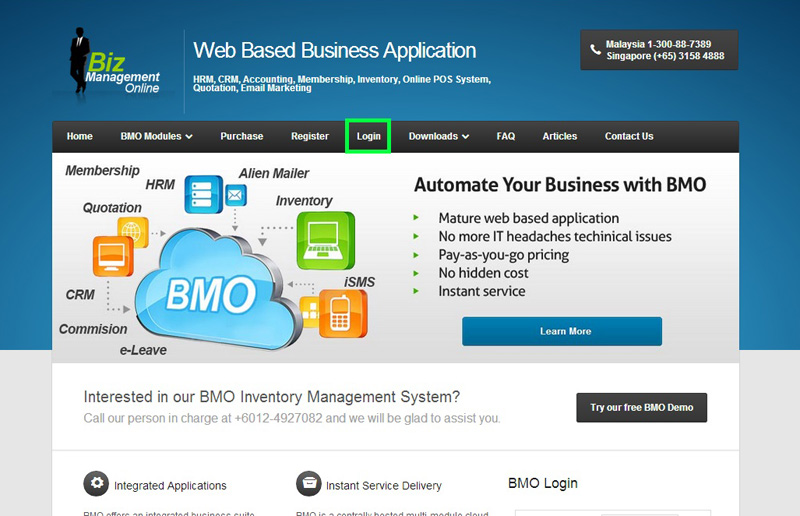
- Go to BMO home page and click “Login”.
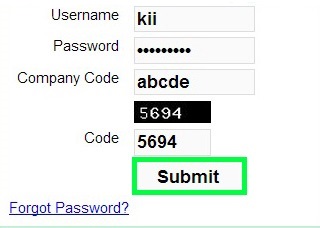
- Login to your administrator BMO account.
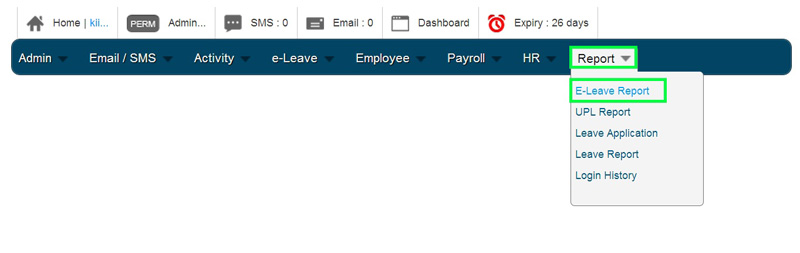
- In your administrator BMO account home page, proceed to Report > E-Leave Report.
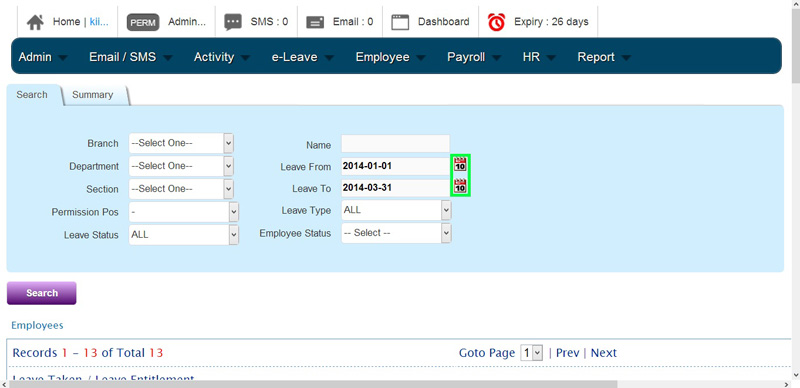
- In the E-Leave Report page, click Calendar button beside ‘Leave From’ and ‘Leave To’ to set the employee’s leave period that you want to view.
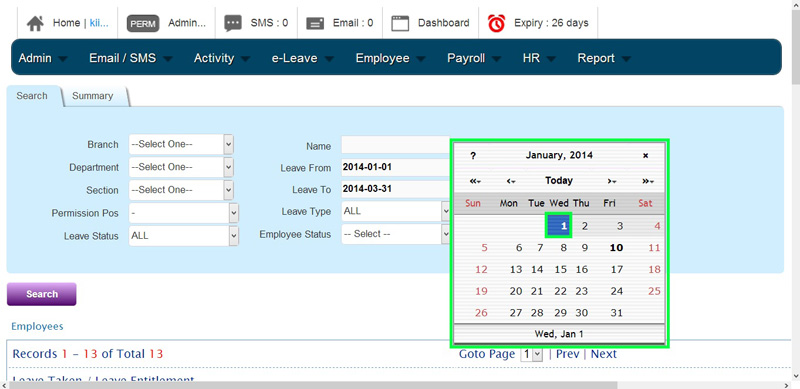
- A calendar box will pop up. Select the date to apply.
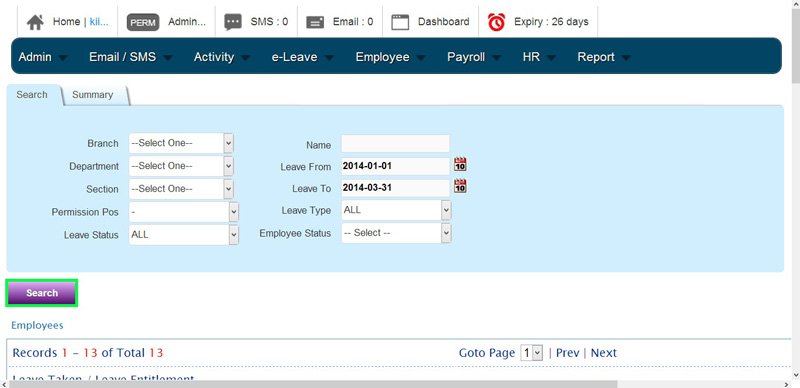
- After selecting the leave period, click “Search” to view the employee’s leaves.
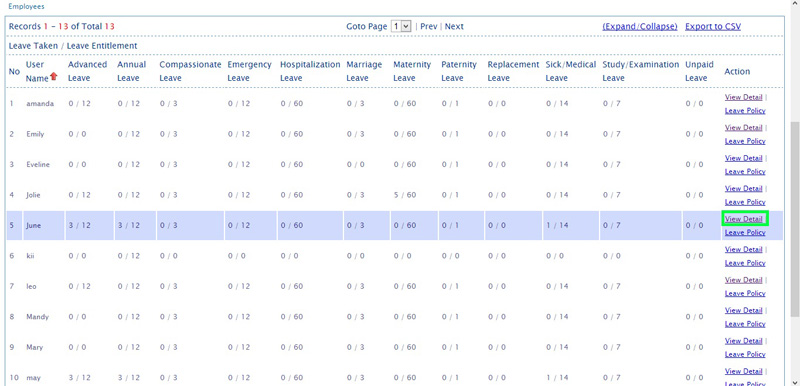
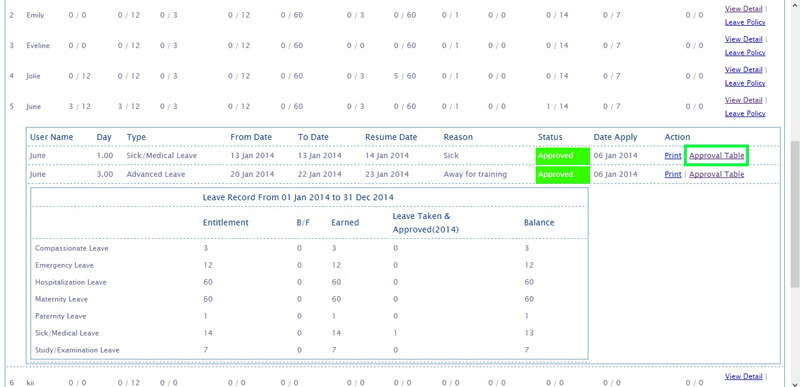
- The system will then show you the employee’s leave records. You can select an employee and click “View Detail” to go through the leave information.
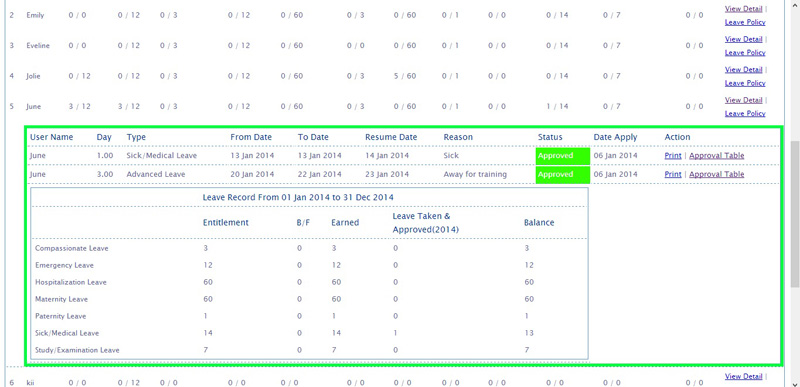
- Below is the example of employee’s leave details and remaining leave balance.
- You can also click on “Approval Table” to view the leave’s approval status.
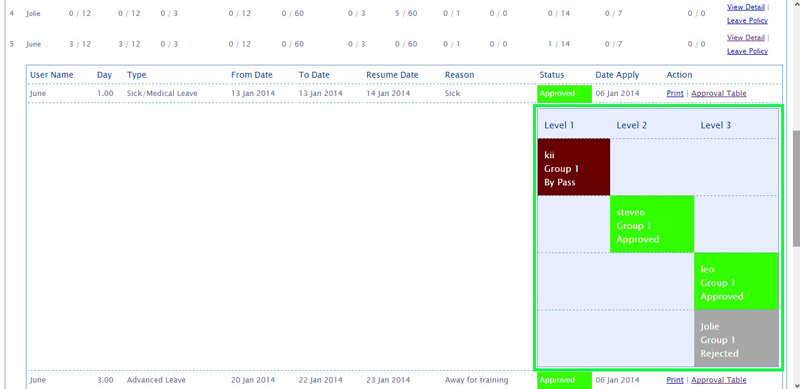
- Below is the example of leave approval table (leave approval structure).
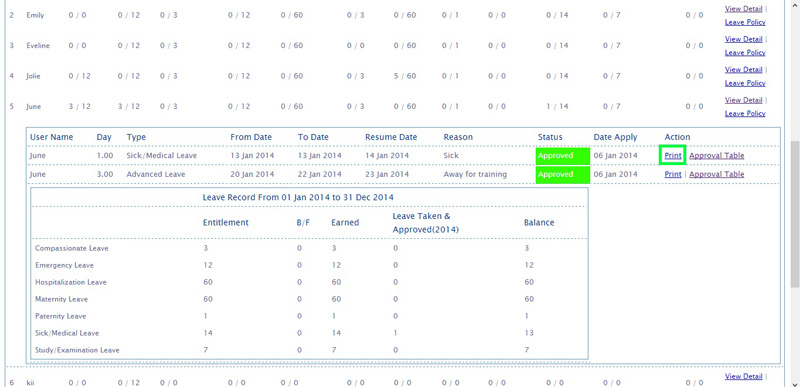
- To print the e-Leave report, click on “Print” button.
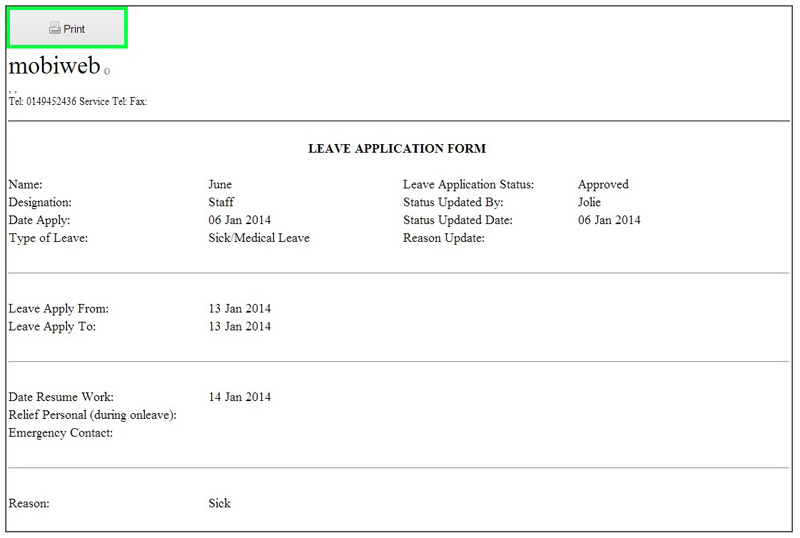
- Finally, it will show you the e-Leave report or Leave Application Form.
Click on “Print” button to continue to print the report.