Often when a new employee starts working in your company, your HR department would have to prep them before they get to work. If you subscribed BMO Online Leave Management System, your HR department would be able to create an online employee account to manage the employee’s leave and other information.
Below is a short guide on how to create a new employee account. If you would like to know more about the approval setups, please click HERE for more info.
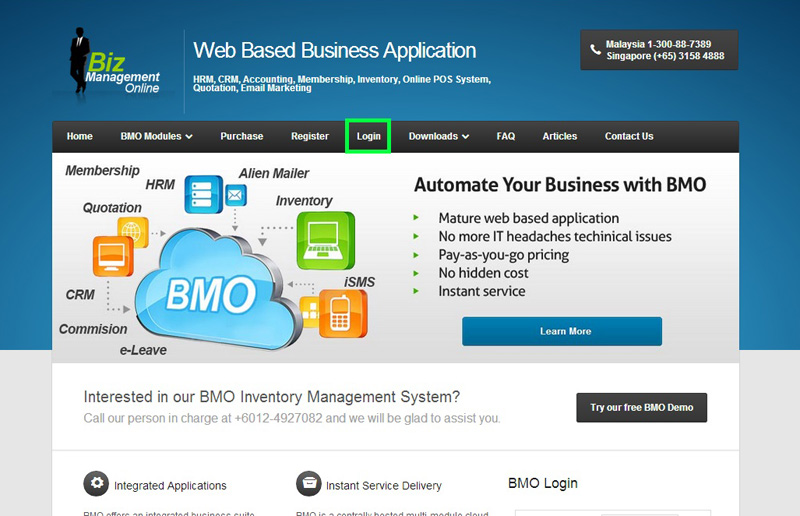
- Go to BMO home page and click “Login”.
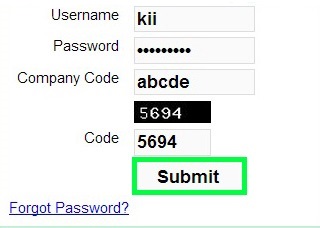
- Login to your administrator BMO account.
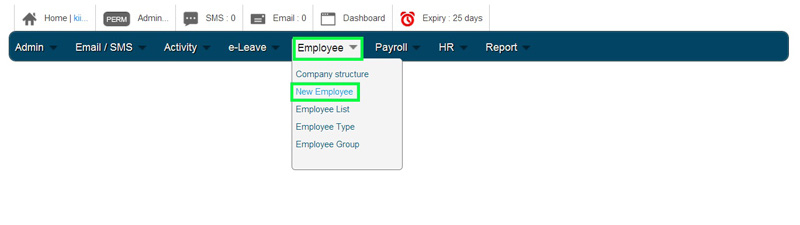
- In your BMO account page, go to Employee > New Employee to create new employee.
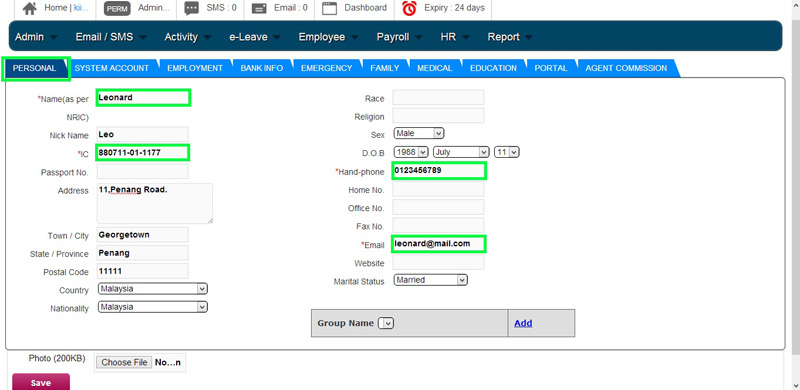
- Fill in new employee basic information in PERSONAL section.Note:
- You must fill in all the columns with *.
- Fill in new employee’s ‘Sex’ and ‘Marital Status’ to meet the Paternity Leave and Maternity Leave requirement.
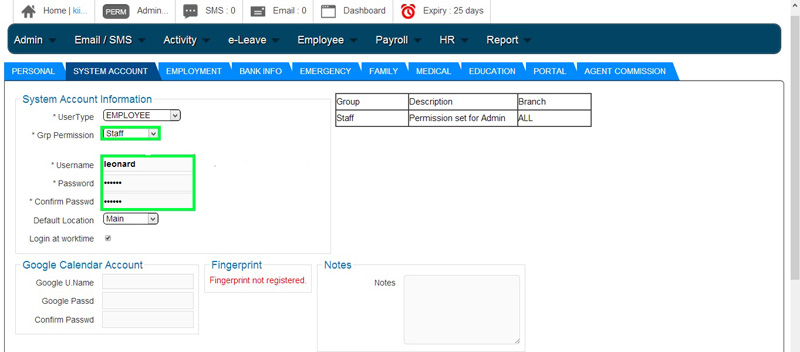
- In the SYSTEM ACCOUNT section, you need to:
- Scroll down to choose the new employee “UserType” and “Grp Permission”.
- Create an ‘Username’ and ‘Password’ for new employee.
- Confirm it by typing again the password in ‘Confirm Passwd’ column.
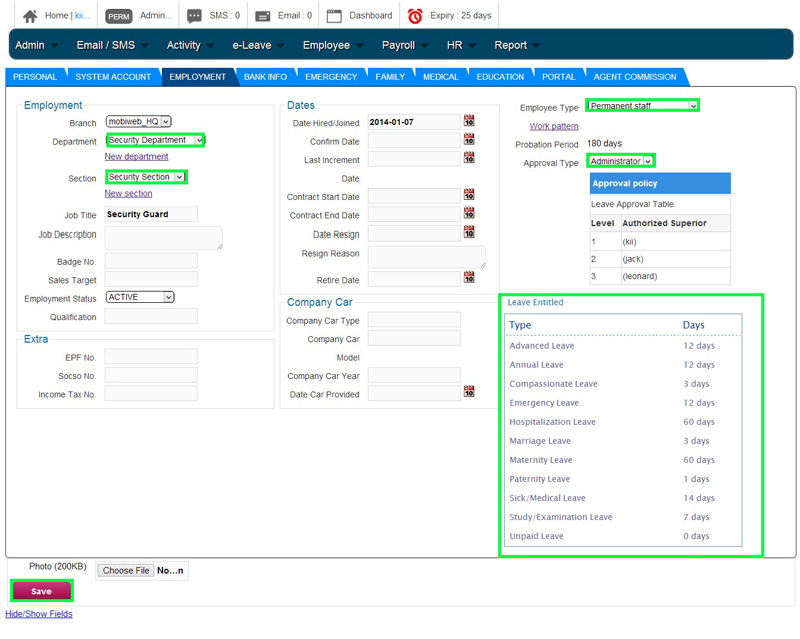
- In the EMPLOYMENT section, scroll down to select new employee’s “Department”, “Section”, “Employee Type” and “Approval Type”.After selecting the employment info, the system will show you the new employee’s leave details at “Leave Entitled” as indicated below.Finally, click “Save” button to save new employee’s details.
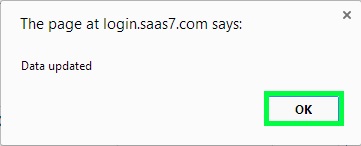
- A message box will pop up and show that the data had been updated for the new employee. Click “OK” to dismiss the message.